How to set up multiple postbacks for one campaign
With multiple postbacks, you can track more than one type of conversion in the same campaign. This means you’ll see not only the final conversion but also the steps along the way — such as registrations, add-to-cart actions, or payment clicks.
A Postback is an URL used to notify ClickAdilla whenever a conversion happens.
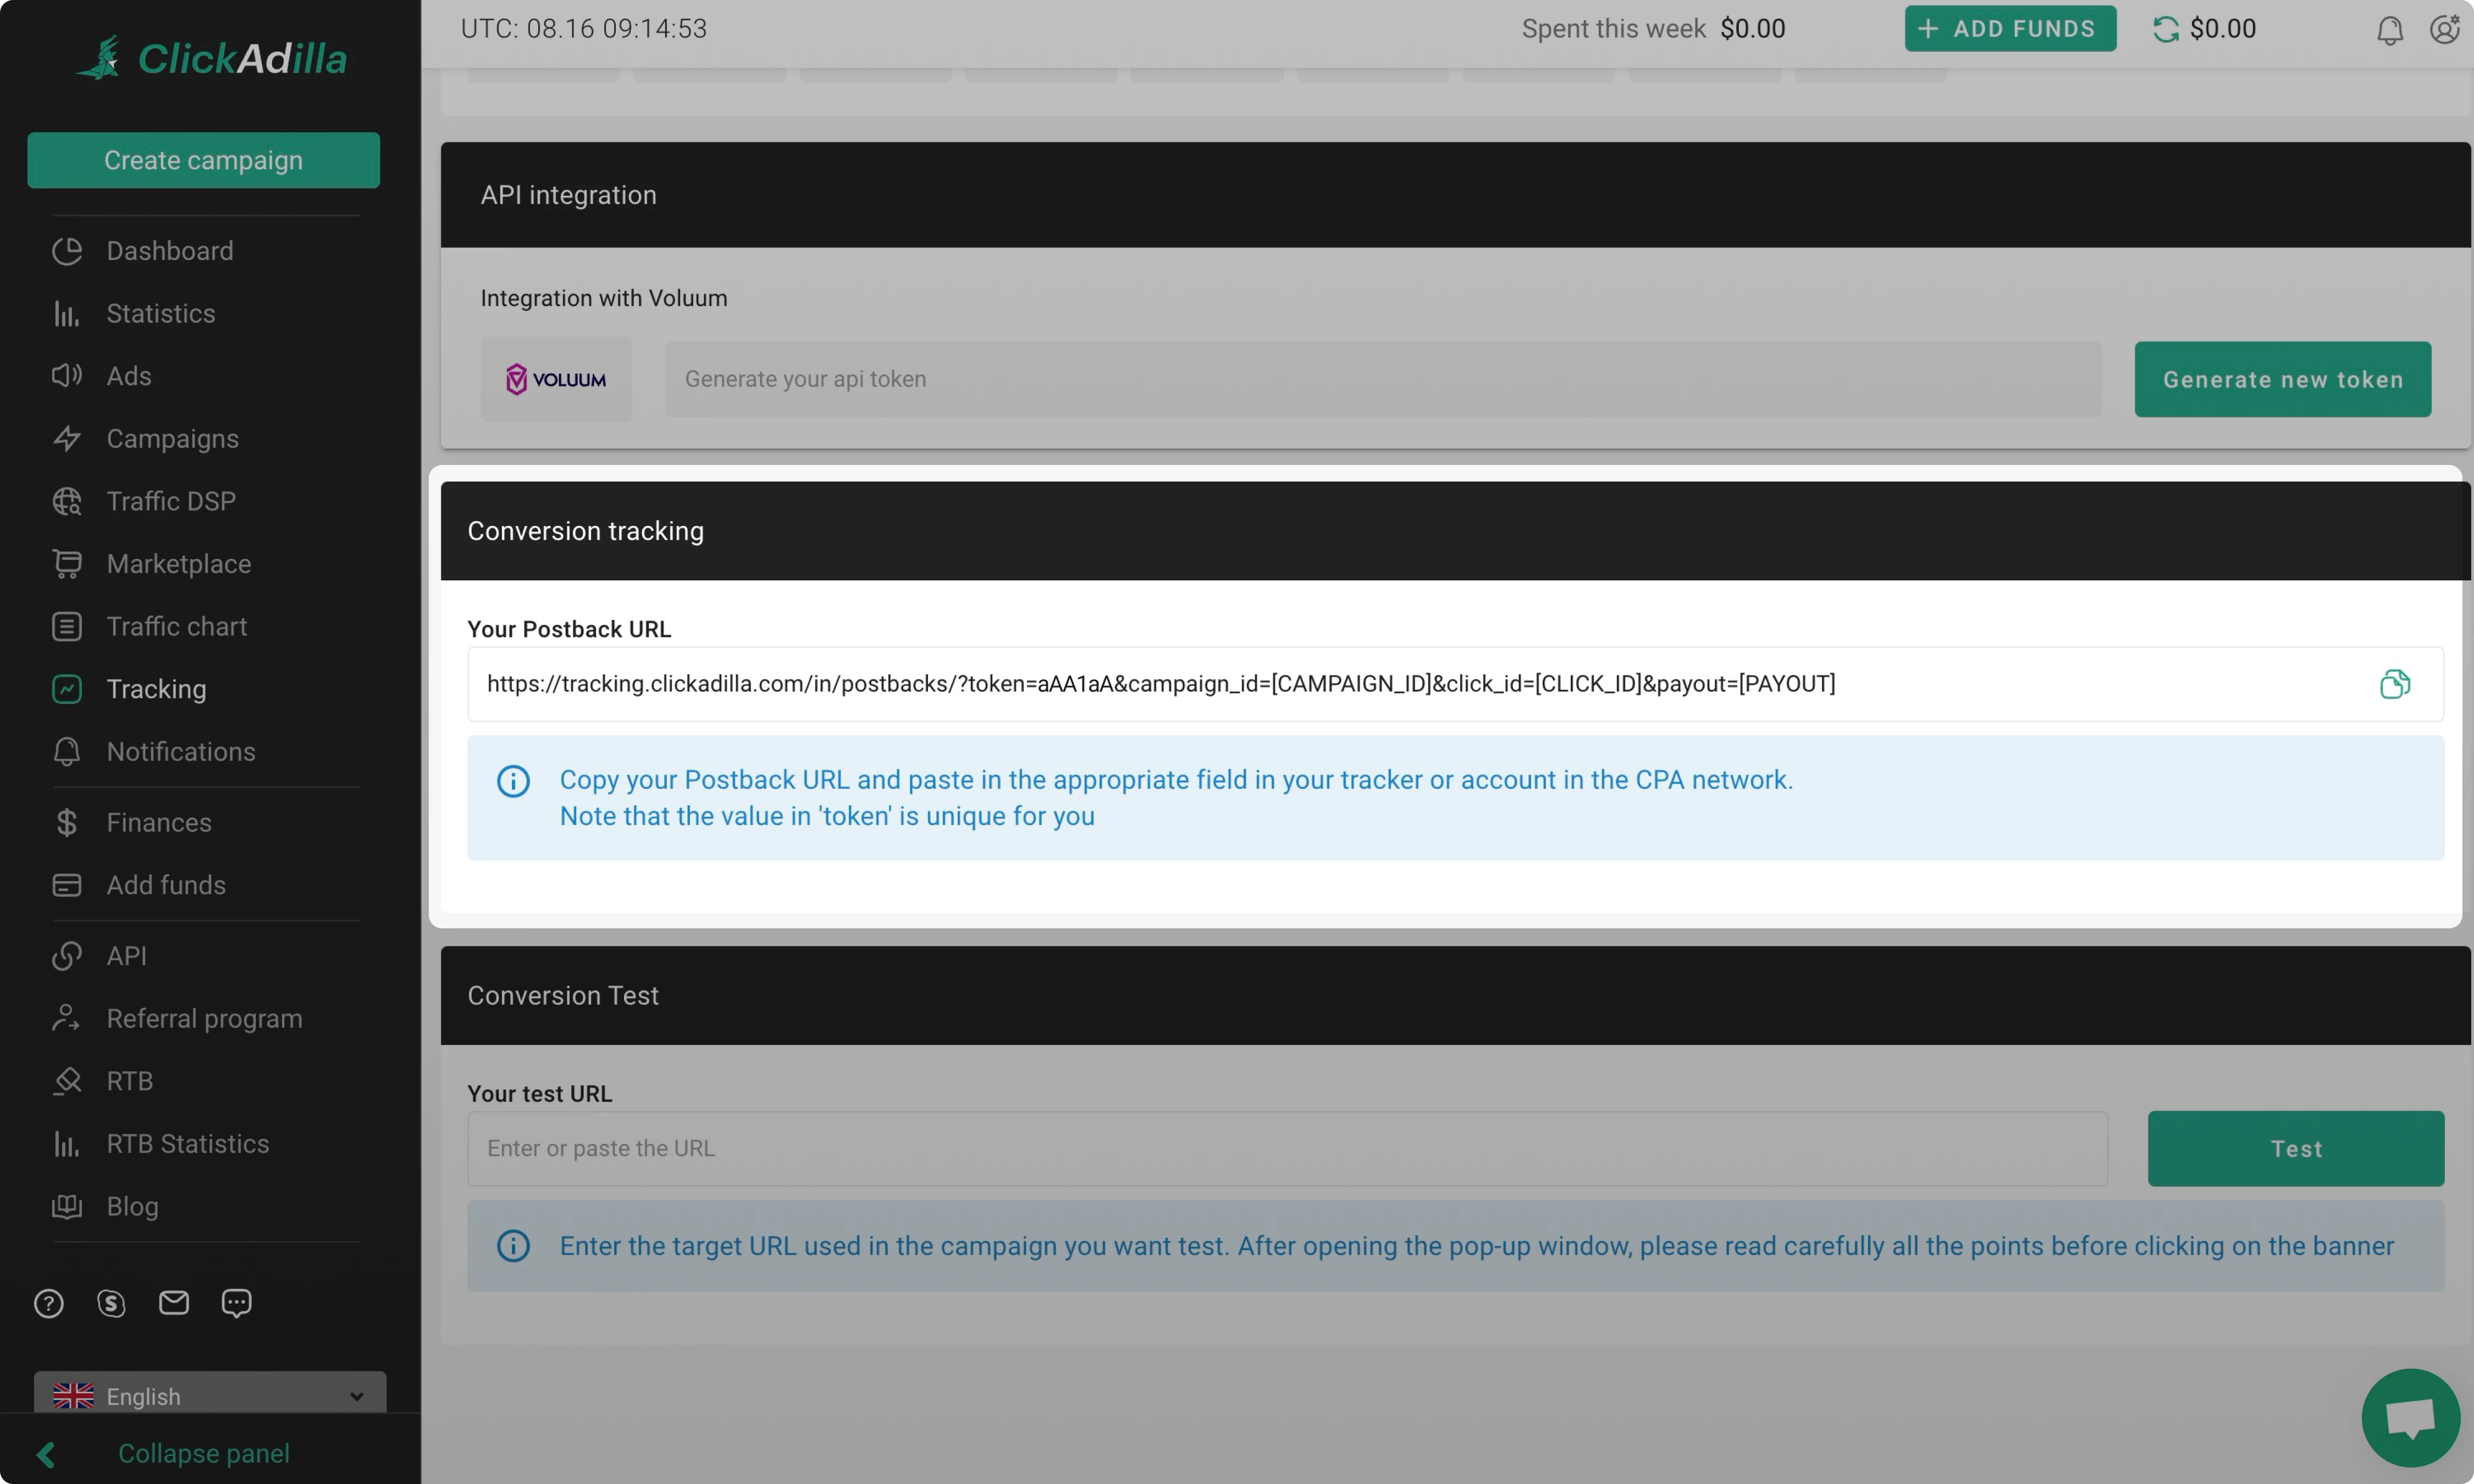
Finding your Postback URL
Go to your ClickAdilla dashboard → Tracking → Conversion tracking:

Adding a conversion_id
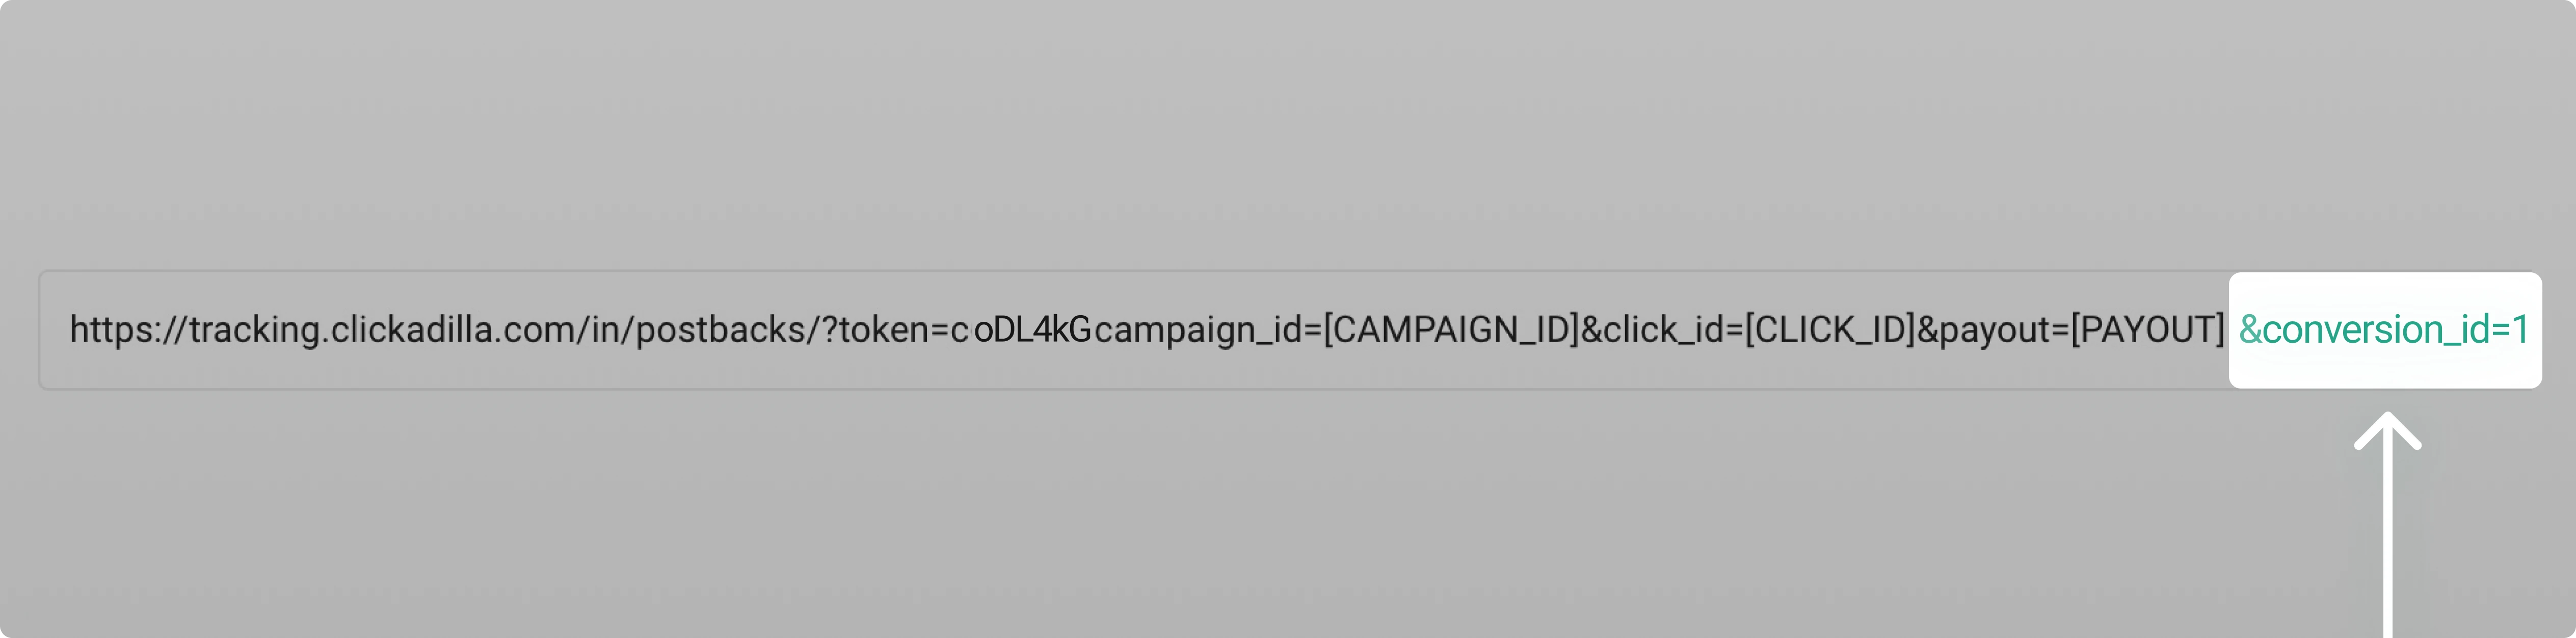
To track different events within the same campaign, you’ll need to add a &conversion_id parameter to your URL:
1. Take your Postback URL.
2. Add ‘&conversion_id=1’ to the end of the URL.
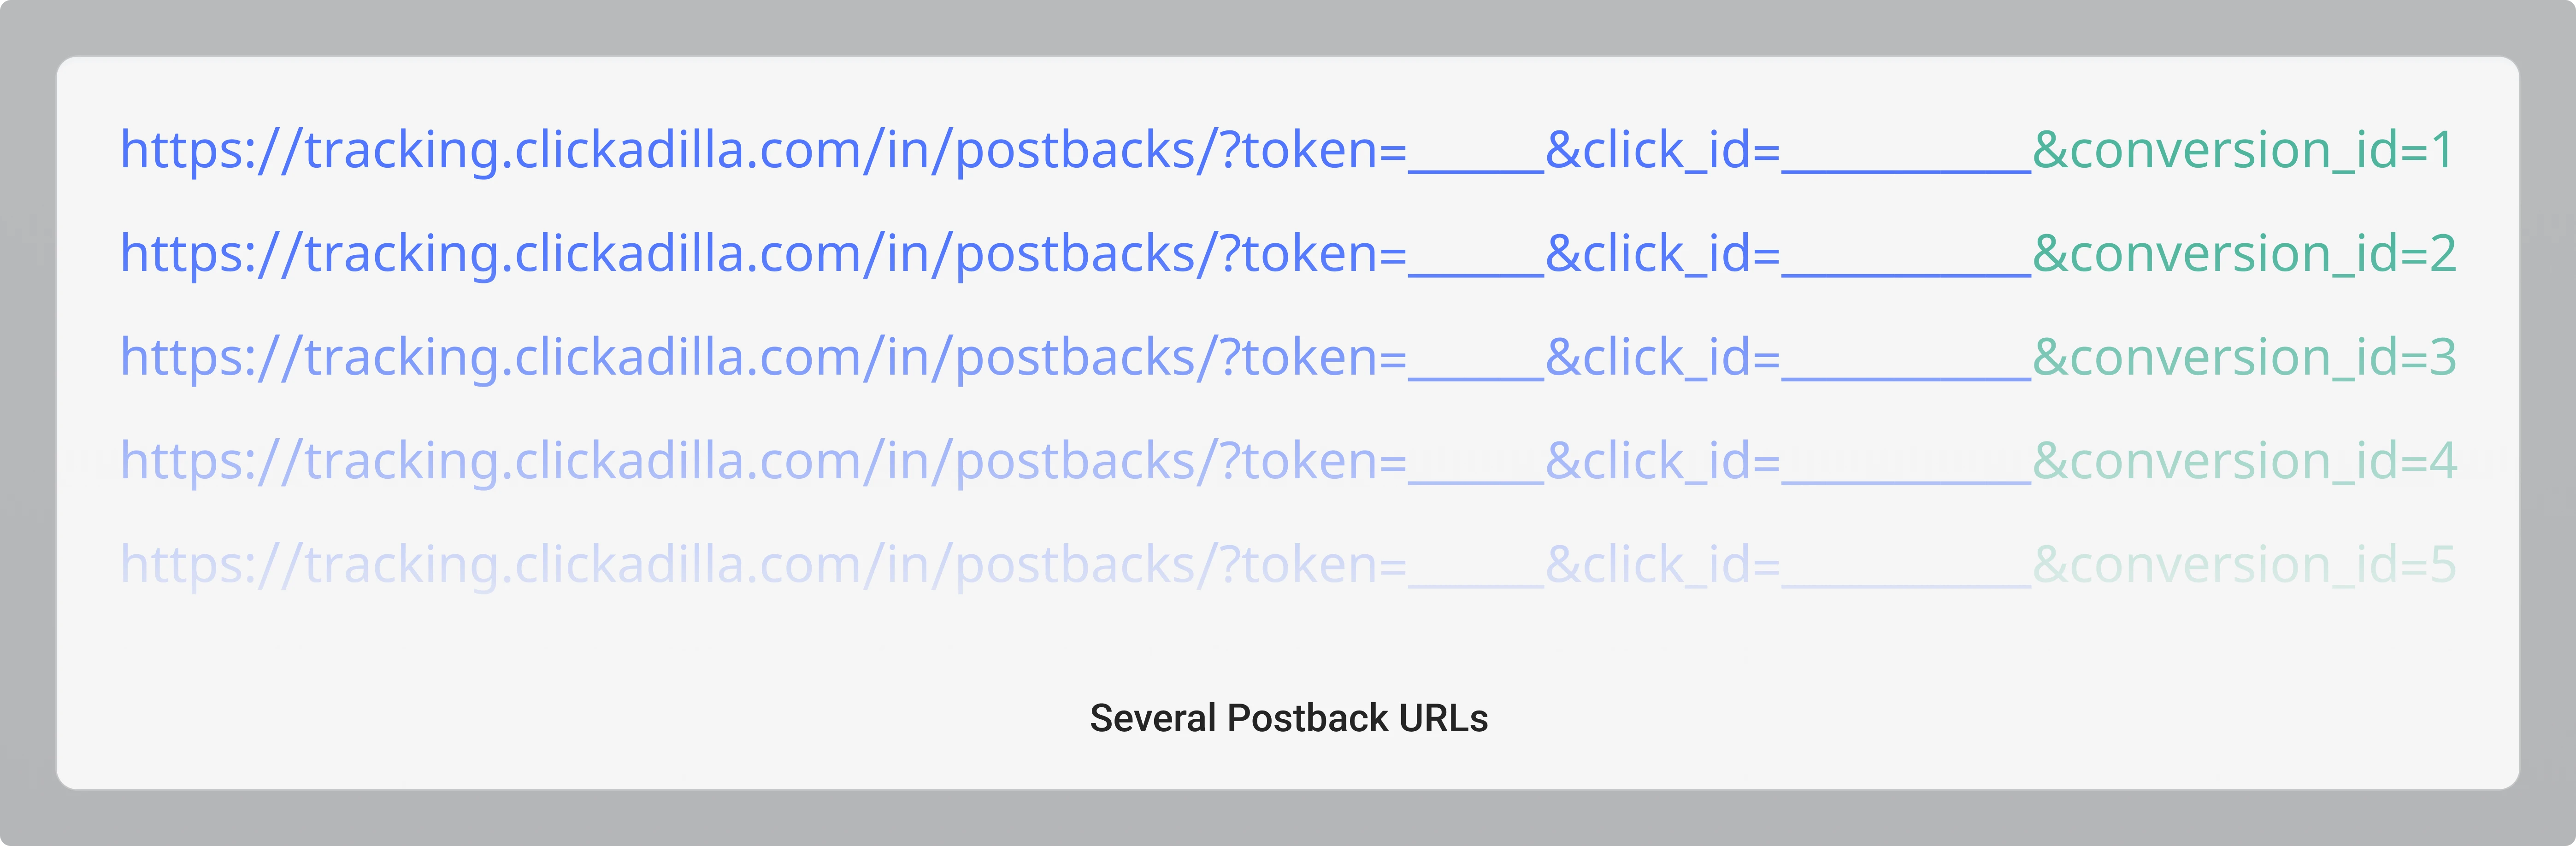
3. Duplicate the URL for each additional conversion, changing the number:: ‘&conversion_id=2’, ‘&conversion_id=3’, and so on.
How it works
Your website should send an HTTP GET request to the relevant Postback URL each time a respective event happens. For example:
- conversion_id=1 → registration
- conversion_id=2 → add to cart
- conversion_id=3 → payment click
This allows you to see how many users reach each stage of your funnel.
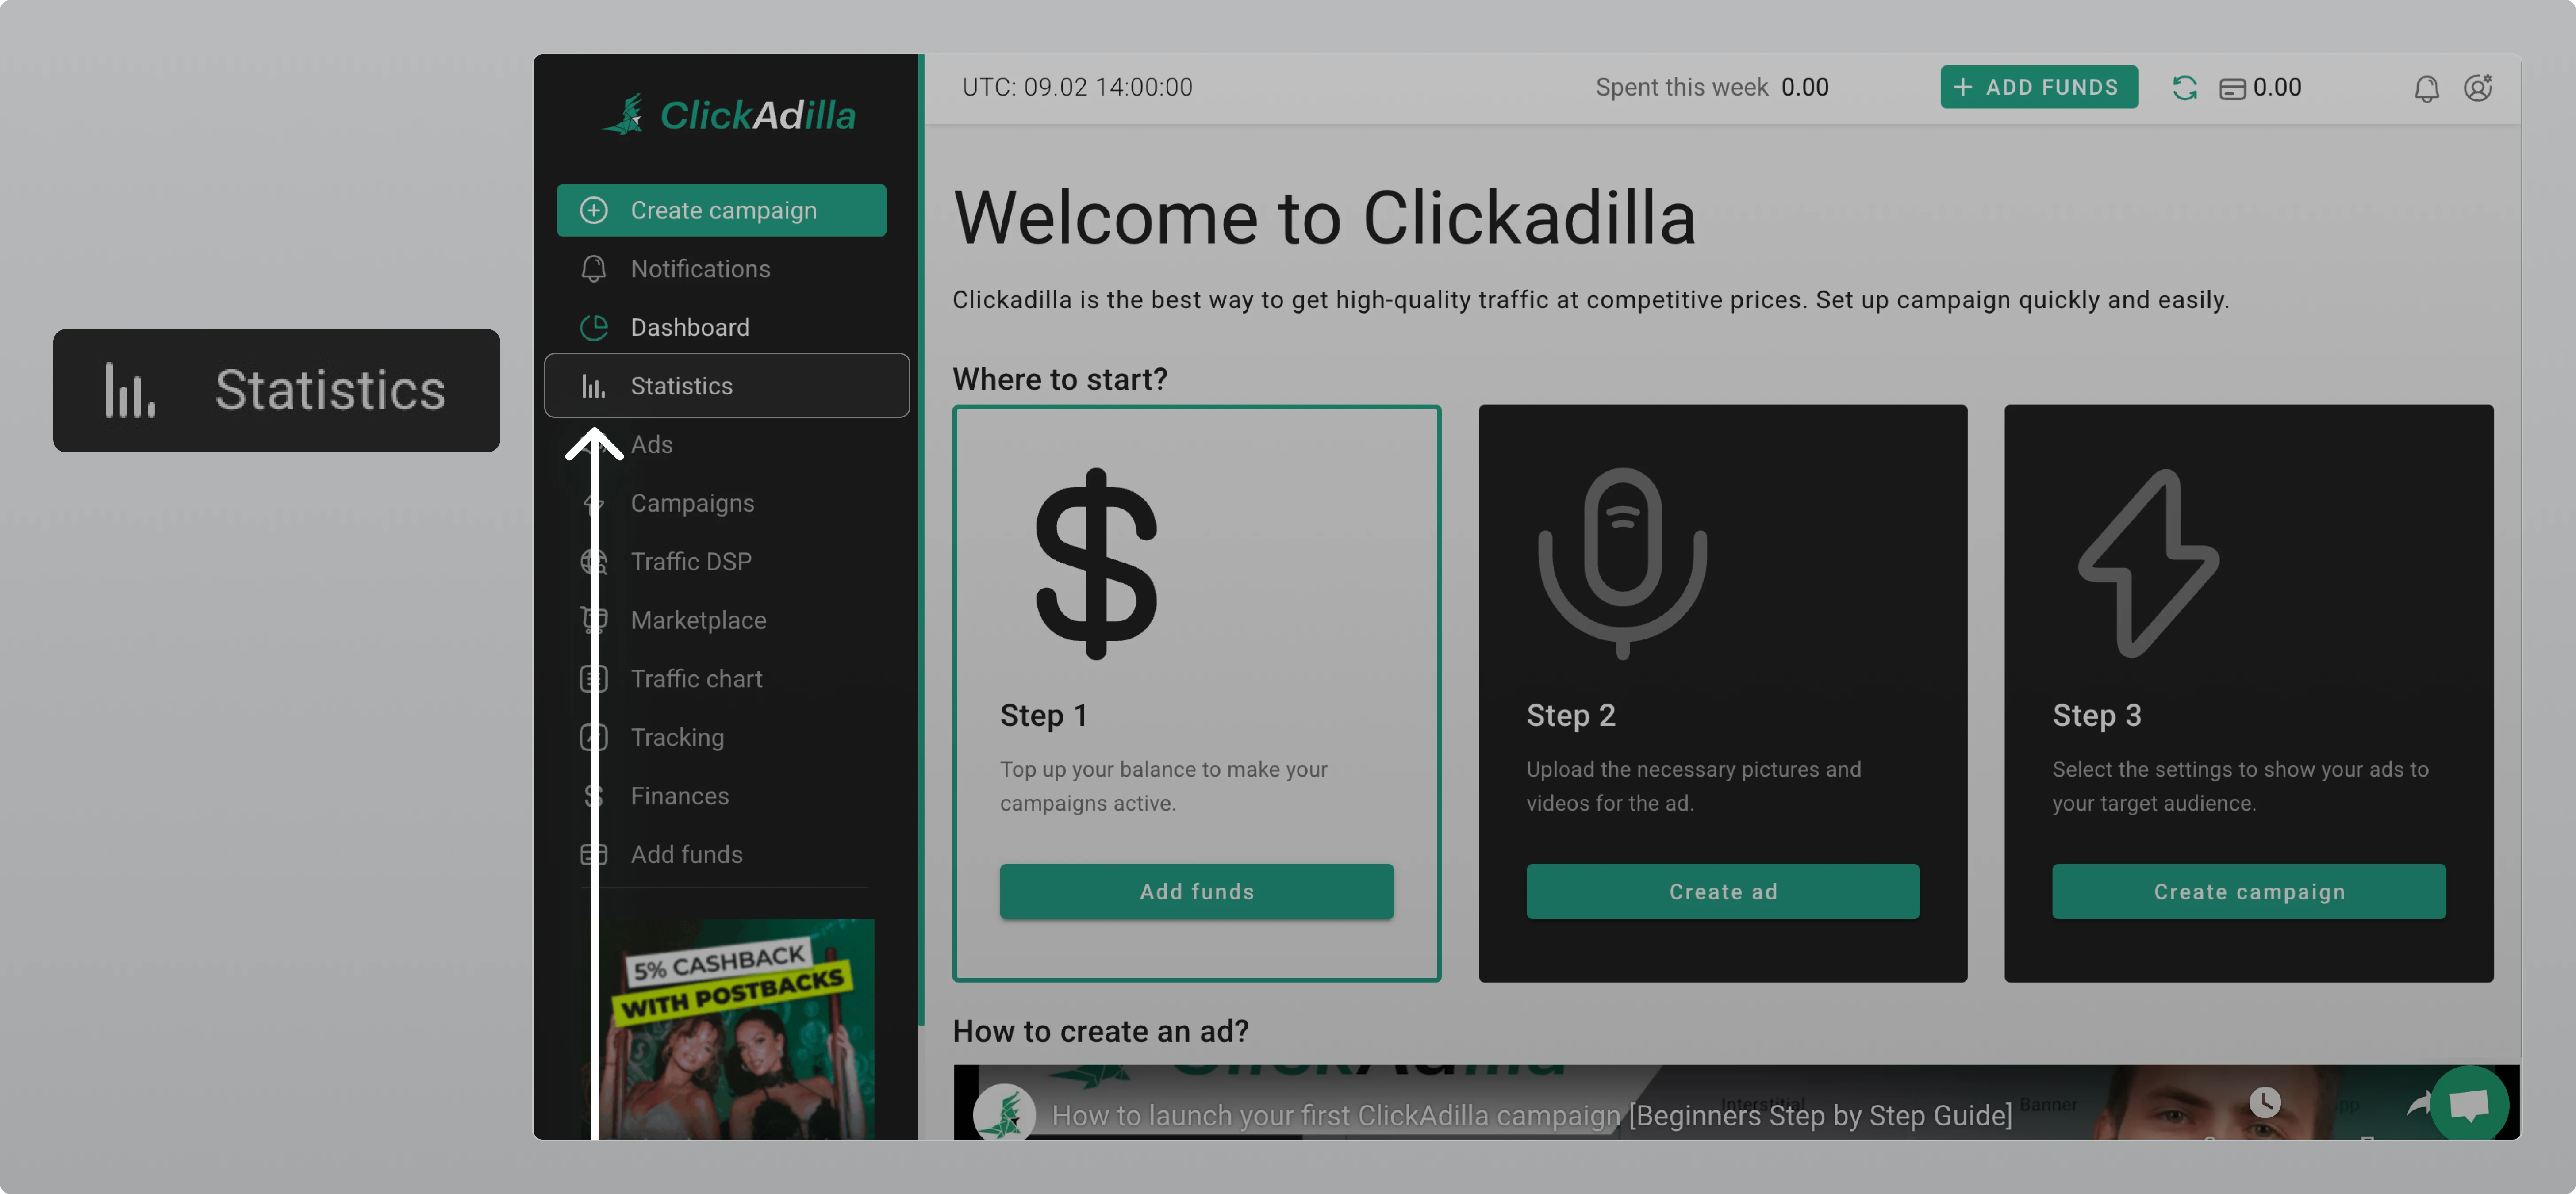
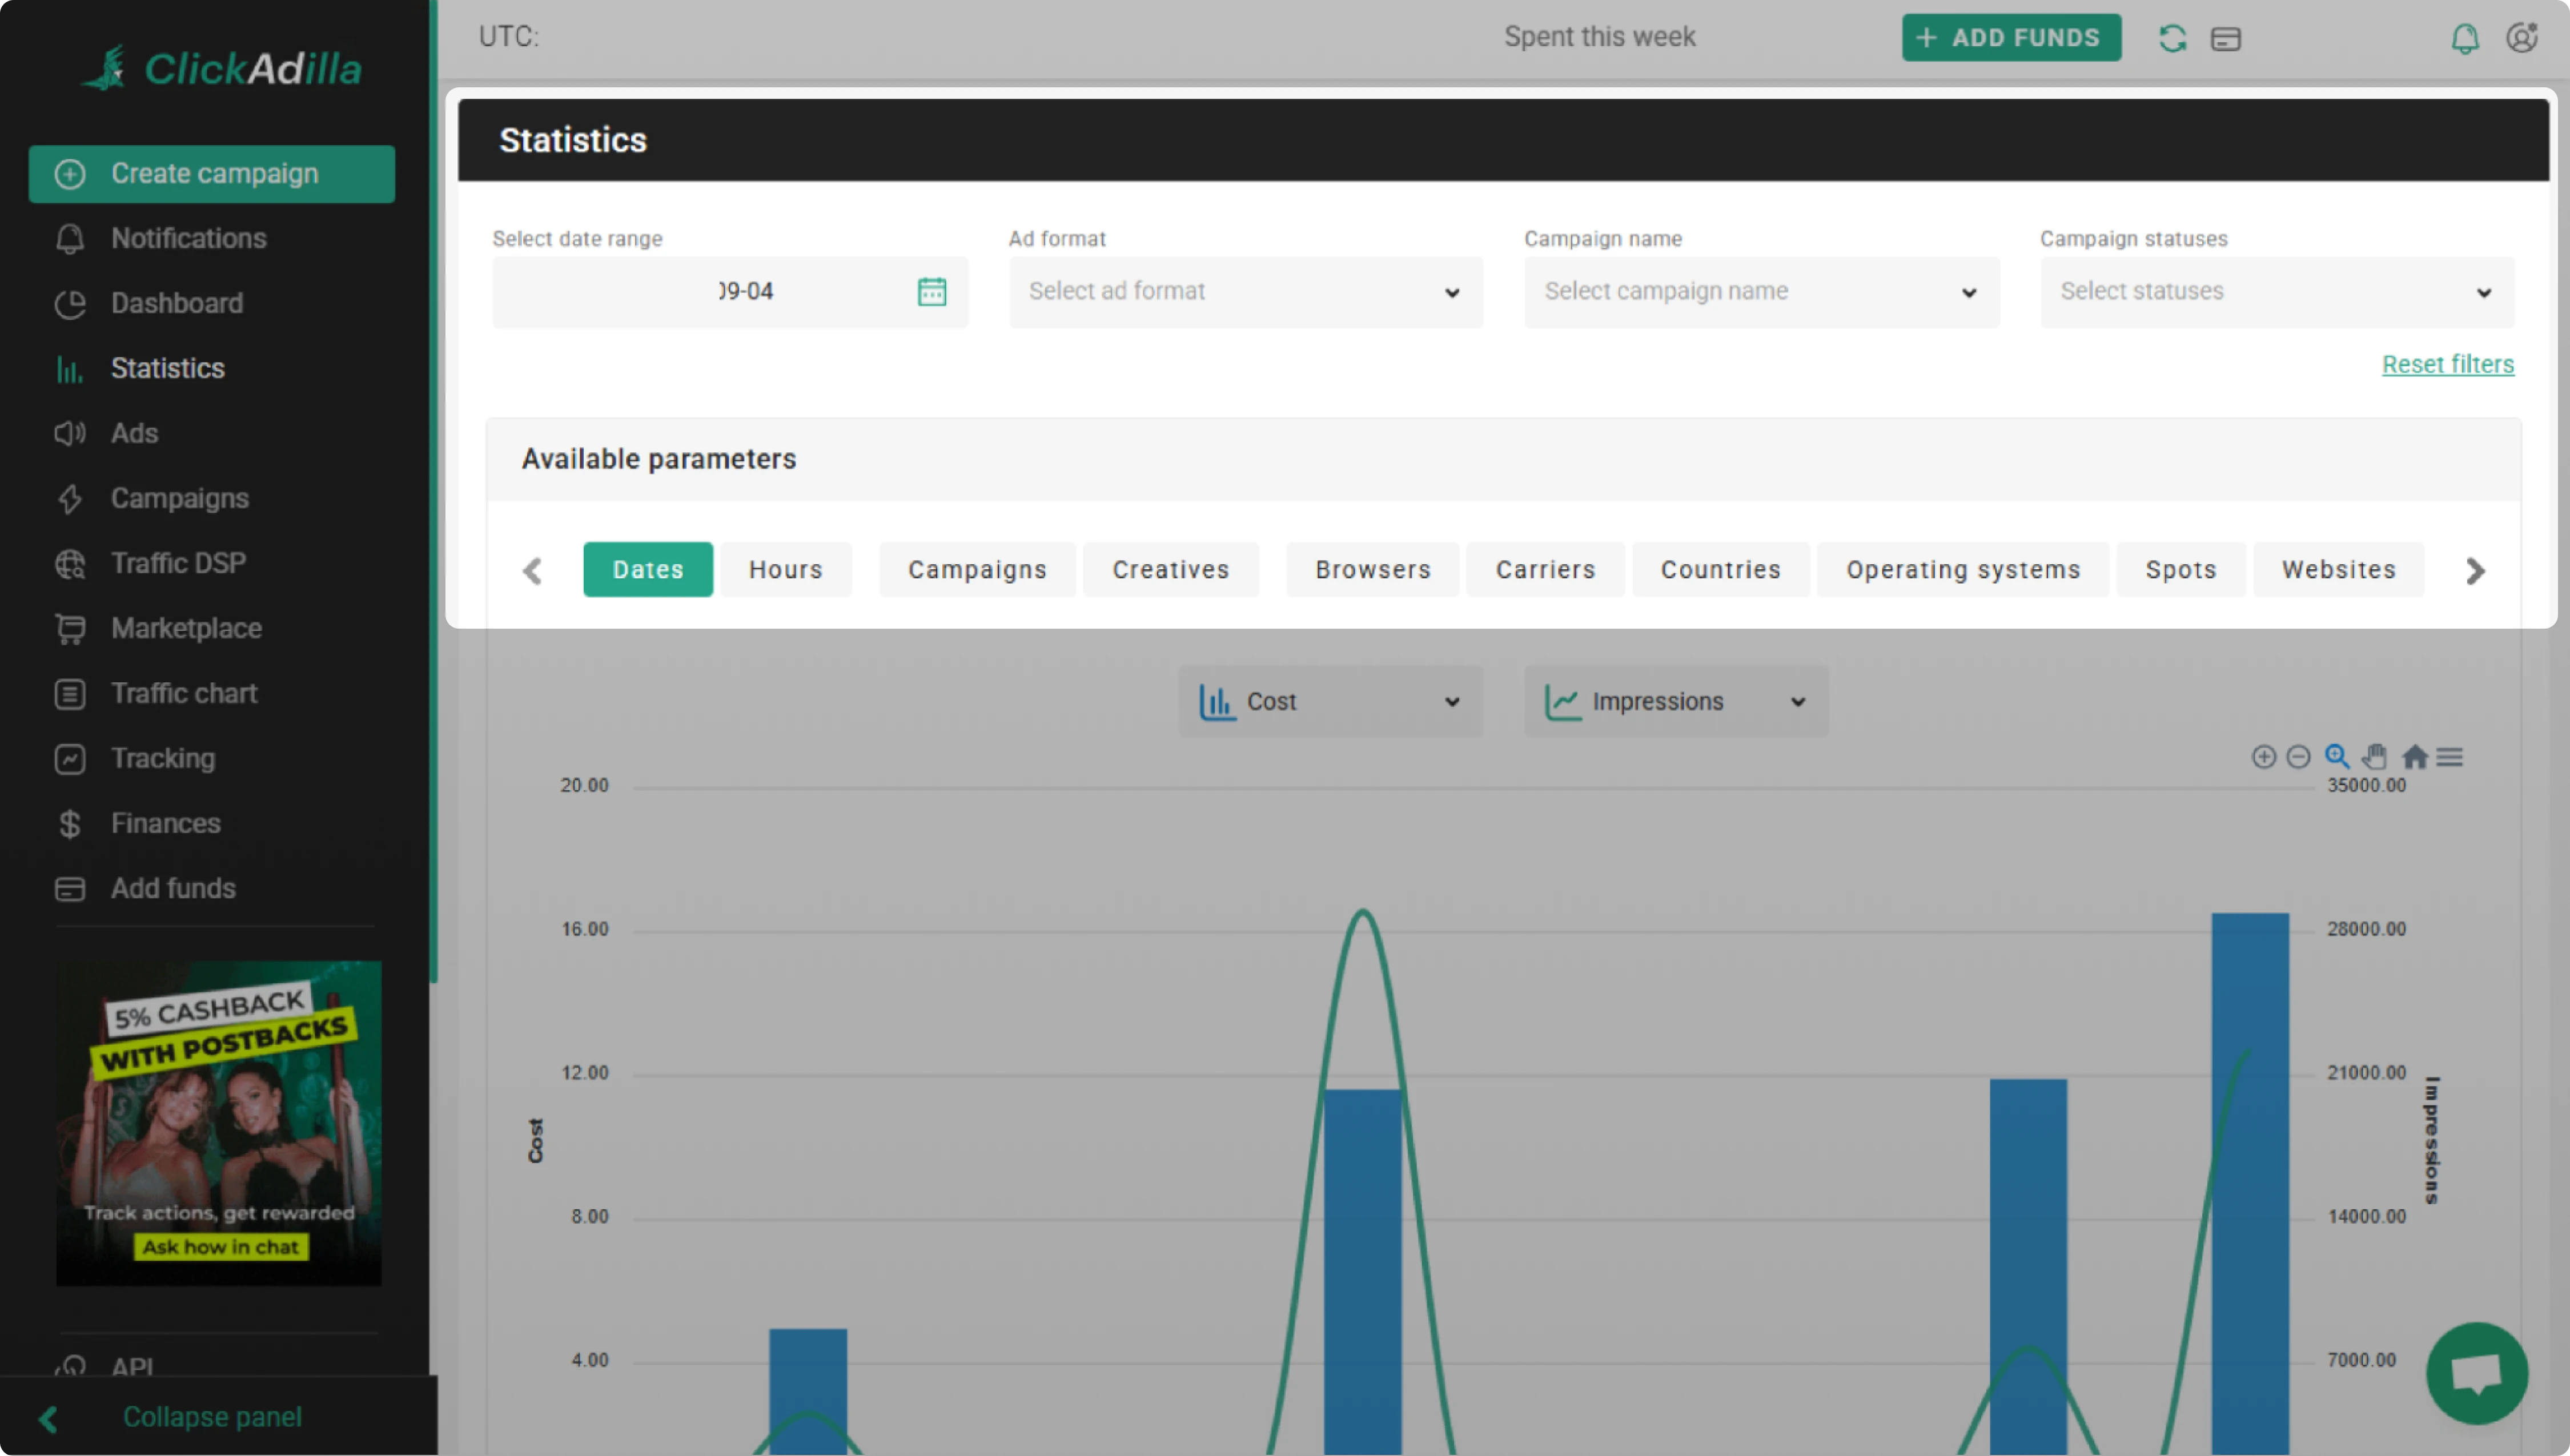
Tracking your data
All data from your postbacks appears in your campaign statistics inside the ClickAdilla dashboard. Multiple postback data is visible across all reporting tabs except Dates, Hours, Campaigns. Example:
Related articles in our blog
